With the shelter-in-place order, any socializing we do is on camera. Plus many of us have to use videoconferencing for work. As long as we’re going to be spending lots of time on camera, we might as well look our best. So here are some tips for making yourself look good on your laptop’s (or your phone’s) crappy little web camera.
First of all, and perhaps most importantly, have your laptop or phone sitting on something stable. Ideally, you want to move the camera as little as possible, for two reasons. First, if you’re in a videoconference, you want to focus attention on your face, and if you move the camera around that’s going to be a distraction. Second, unless you have a really fast internet connection you probably want to save bandwidth; if you have a stable backdrop, that will be less information you’re sending out, and so you’re less likely to have degraded audio or video.
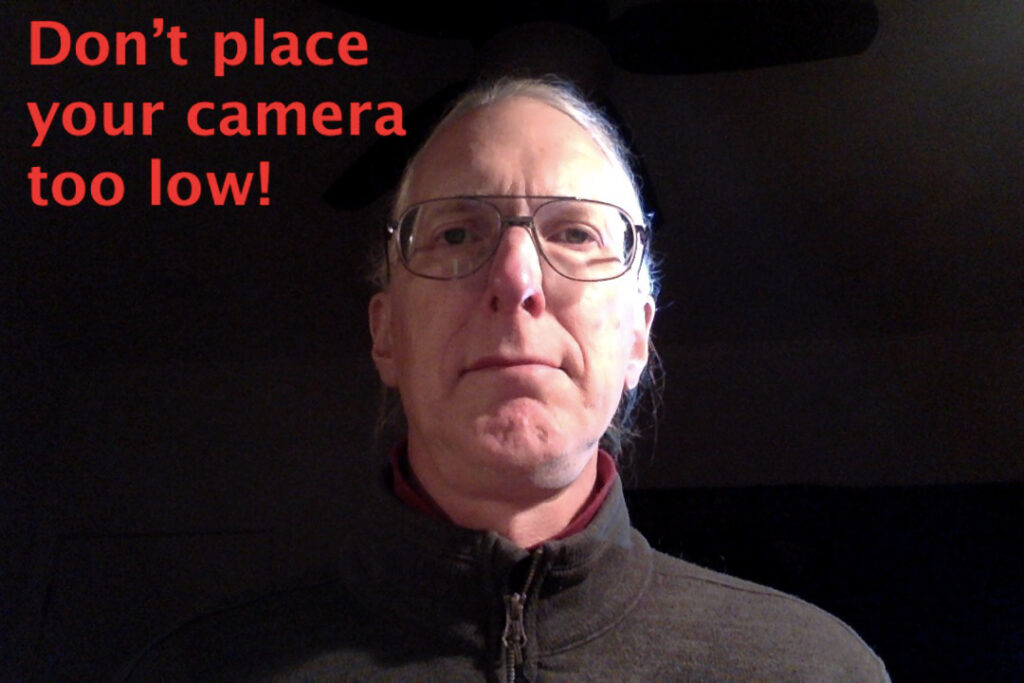
Second of all, don’t place your camera too low. If your camera is too far below your face, people will be looking up your nose, and if you’re middle-aged they can see all those incipient jowls that you’ve been trying to hide. In other words, don’t do this:

Boy, do I look ugly in the photo above! Don’t make yourself look ugly. Place your computer or phone so that the camera is about at the level of your chin. However, don’t place your camera too high; there’s a psychological disadvantage to giving your viewers the impression that they are higher or taller than you.
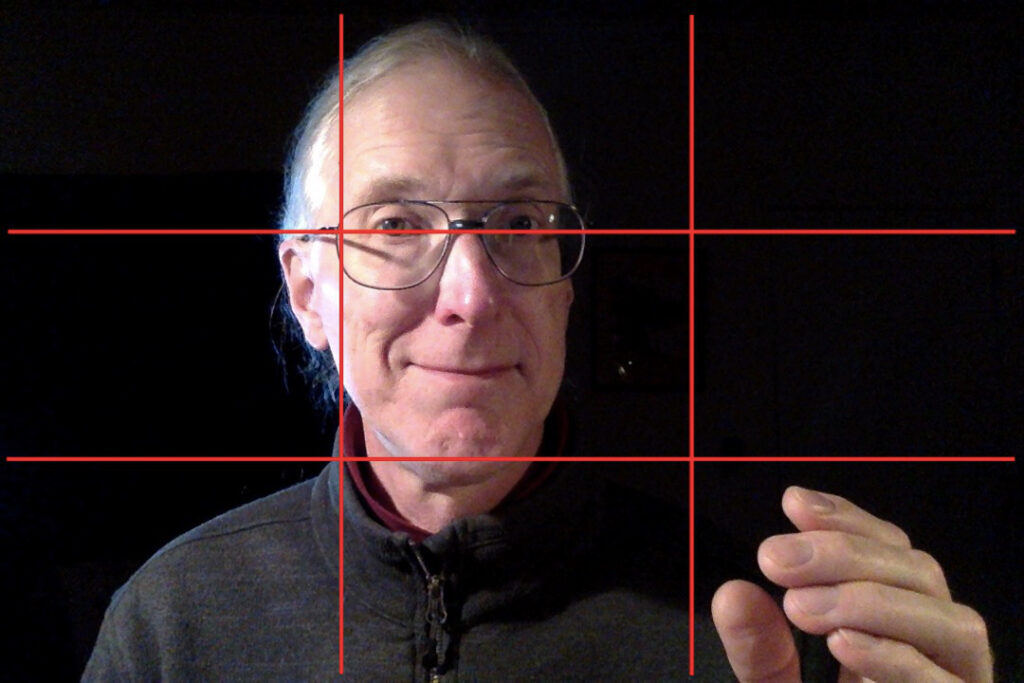
In addition, learn about the Rule of Thirds. Imagine that your screen is divided in thirds both horizontally and vertically, sort of like a tic-tac-toe board. Have your eyes placed so that they’re about a third of the way from the top of the screen. Move so that your head is NOT in the center of the frame, but about a third of the way to one side (I like to move to my left, so that my right hand, my dominant hand, can make gestures in the space to my right). Setting up your camera using the Rule of Thirds will make you look more professional, because that’s what we’re used to seeing in movies and on television.

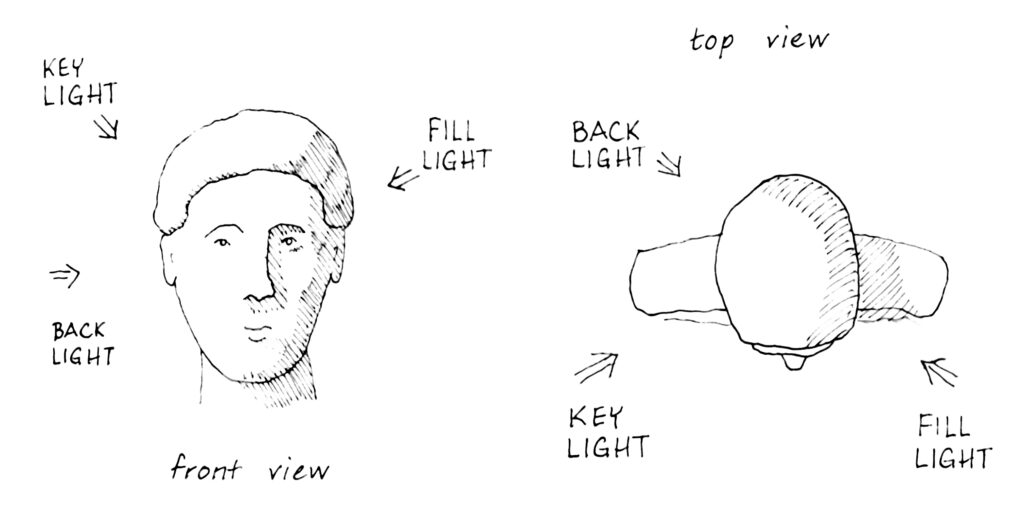
Now let’s take a look at lighting. In movies and television, they use what’s called “three point lighting.” That just means that they use three light sources to light someone’s head. First, you set up the “key light,” which is the most important light. If you’re at home and on a videoconference during the day, your key light is most likely determined by the nearest window — in that case, try to sit so that the light from the nearest window is coming towards you at about a 30 degree angle — and you want diffuse daylight, so make sure there’s a curtain or something to give diffuse light. At night, sit so that the strongest light in the room becomes your key light.
With only the key light, your head will look a little one dimensional or washed out; and if you have any wrinkles or blemishes, they will tend to stand out. Therefore, you need to set up another light, called the “fill light,” which will fill in the stark shadows cast by the key light. The fill light should be less bright than the key light. The drawing below shows where the key light and the fill light come from:

Then if you want really professional lighting, you’ll add what’s called a “back light.” This comes from the same side as the key light, and it lights up the back edge of your head. By lighting up that back edge of your head, it makes you look that much more three dimensional. However, it’s super time consuming to set up a back light, so I don’t bother when I’m on a videoconference.
Now here are some examples of what I look like with these different lights. Here I am with just the key light — it’s adequate, but pretty stark:
Continue reading “Make yourself look good on camera”